Logging In:
To log in to Proxmox you’ll need your IM-ID and a computer connected to the IM network. If you are using a laptop, make sure you are connected to the IM-Nett wifi.
In your web browser open https://172.20.0.10:8006/, this is the control panel for Proxmox, I suggest bookmarking this web address as you will use it a lot. Now login using your IM-ID username and password. If you have forgotten your password please look at xxinsert herexx or speak to a teacher if that doesnt work.
Creating your Private Network:
Before starting please download the WireGuard client here: Installation - WireGuard
Just like any other network, you need a router to do NAT. For this we have the openwrt-router-wg template which you will copy.
When logging in you will see the following in the corner of your screen:
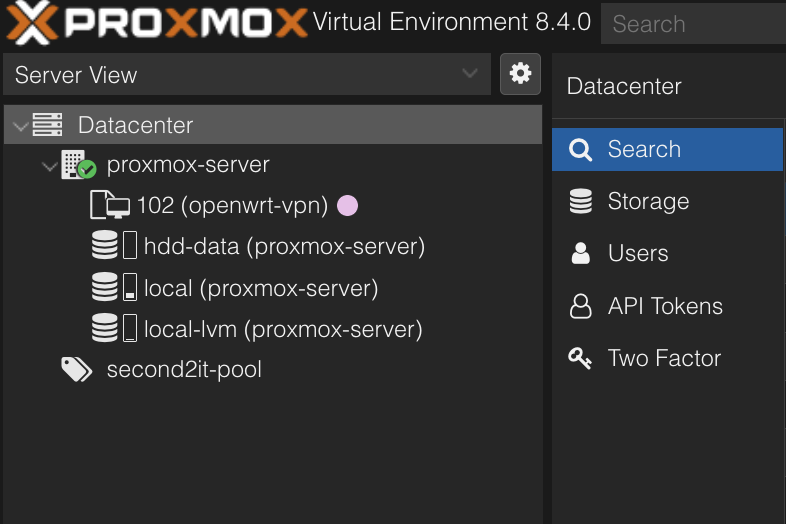
- Right click on the “102 (openwrt-router-wg) template” and click clone.
- You will be given a random and unique VM ID, write this down, as this will now be the ID for your private network. Fill out the rest of the options like below, and make sure you assign it to your resource pool.

- Click Clone
- Click on the new VM on the side bar (you can remove the “template” tag from the VM if you’d like)
- Goto Hardware and find “Network Device (net1)” and double click on it.
- Under “VLAN Tag” change it to the VM ID you were told to write down earlier in the guide.
- Start the VM, then click on the “Console” button next to the start button. This will open a console window
- Click Enter in the Console to activate it
- Run the command
nano /etc/config/networkand use your arrow keys to scroll down until you findconfig interface 'wan' - Find the line
option ipaddr '172.20.0.199', replace the last three digits with the VM ID you were told to write down earlier. - Press ctrl + x , press Y, then enter to save the file
- Run the
rebootcommand.
Creating the VPN server:
You need to edit the VPN server in a way that makes it possible for you and only you to VPN into the server.
- First open the WAN IP address of your router in the browser, in my case 172.20.0.199
- Log-in with the username and password “root”
- Go to Network → Interfaces
- Find the WireGuard interface and click Edit.

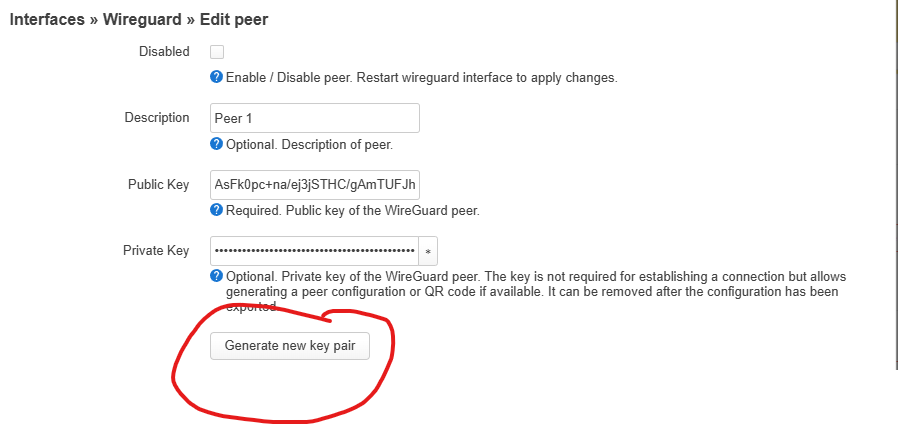
- Under the Peers tab find “Peer 1” and click Edit
- Click the generate new key pair button
- Scroll down and click the green Save button
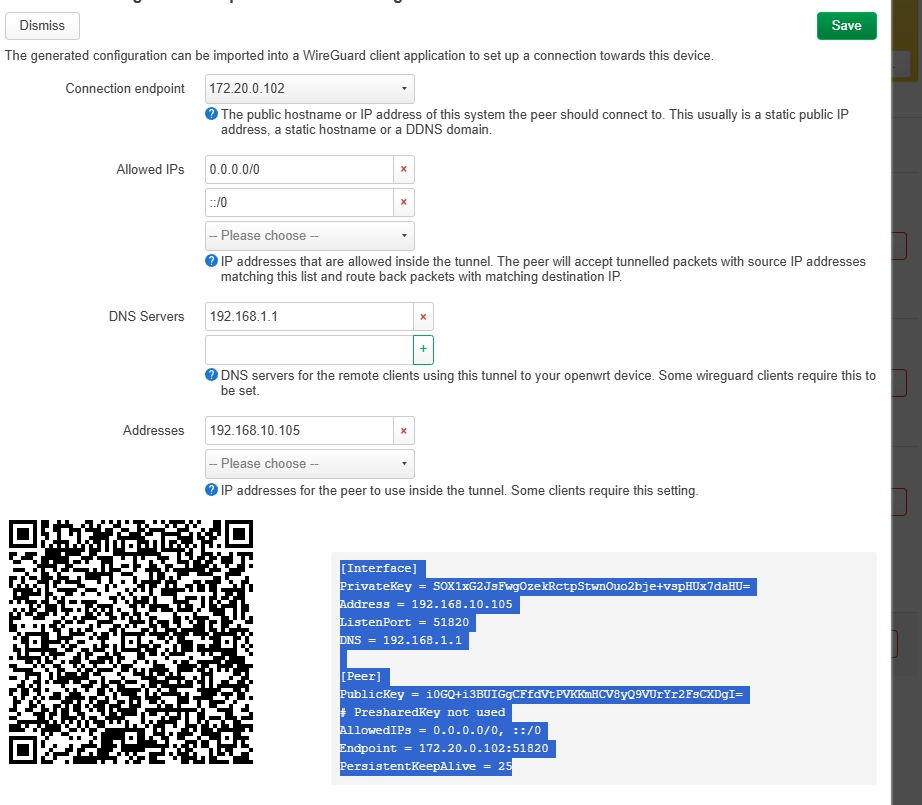
- Press the Edit button AGAIN, and this time scroll down until you find the “Generate configuration” button
- Copy the configuration text like so
- Press the green save button, and then press the “Save and Apply” button at the bottom of the interfaces page.
- Restart the WireGuard interface before continuing:

Importing the VPN config:
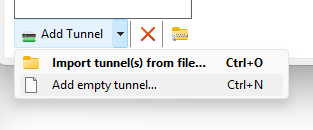
- Open the WireGuard application on your system
- Press “Add Tunnel” and select “From empty file”
- Highlight everything and paste what you have copied into the text box and click Save:

- You can now activate the VPN and connect to your virtual router. If this doesn’t work then you need to try restarting your virtual router.
Finishing up:
Please make sure to change the password for your router, in the routers config page you will have a huge yellow banner on top reminding you to do this. Please comply.